In this article we show how to fix the error “Can’t Create Recovery Drive on This PC” in Windows 11.
Chances are you are seeing this windows error after cloning a hard drive or a previous restoration that has failed to properly set the Windows Recovery parameters correctly on your PC. To solve it, we simply need to do a couple of checks and then instruct your Windows Installation to properly configure the recovery system environment.
Verified Solution to Can’t Create Recovery Drive on This PC
Step 1
We just need to check if there is anything wrong with your windows files and let Microsoft fix them automatically for you.
Press your Windows key and type cmd and then click run as administrator
Type or copy and paste in the following sfc /scannow
It will report that everything is fine, or if it finds errors like the image below, it will automatically fix them for you.

Step 2
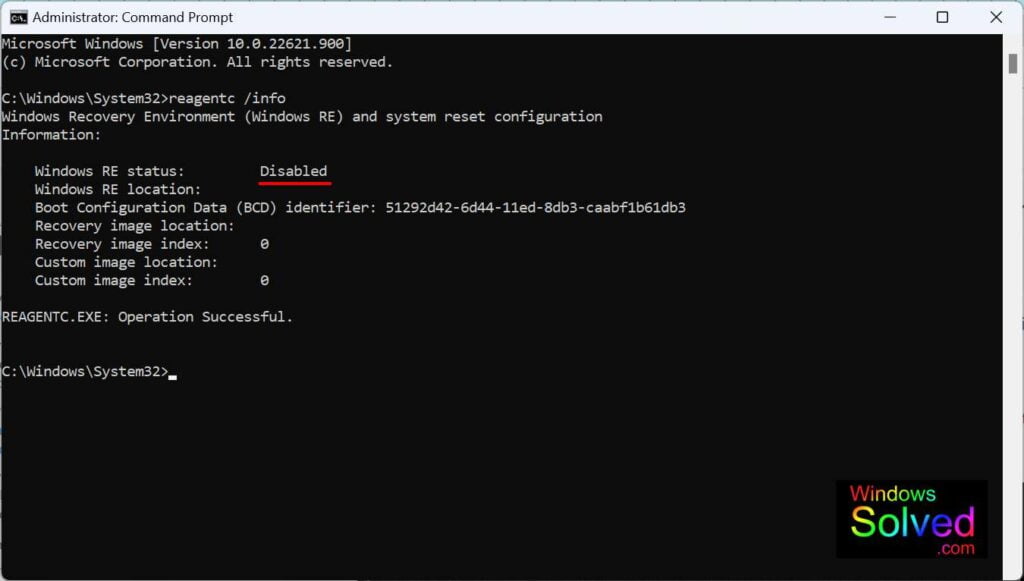
In your open command prompt, type or copy and paste reagentc /info
The chances are you will see a screen below that shows “Windows RE status: Disabled”

You can try issuing the command of reagentc /enable, but in our case we just got a message of “REAGENTC.EXE: The specified path was not found”. If you get a message of “REAGENTC.EXE: Operation Successful”, you are probably finished and can try creating your recovery drive again. If you don’t, proceed as follows.
Step 3
There are loads of articles that suggest looking at a whole bunch of other information within the Windows setup and your hard drive configurations. In our experience, we skipped them all and went straight to the following.
Confirm the drive letter the hard drive that Windows is loaded on in your PC. In most cases it is C:\
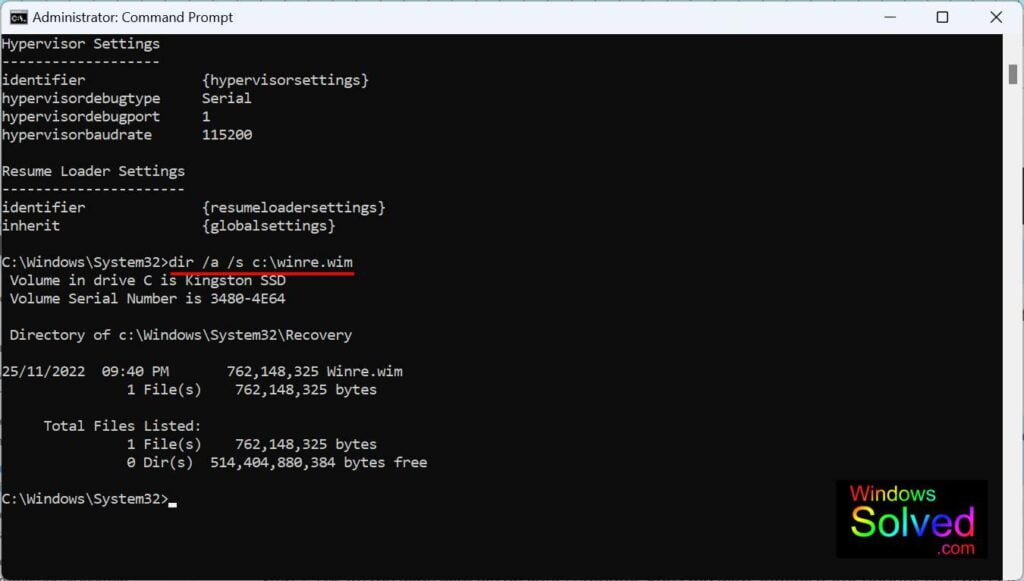
In your open command prompt, type or copy and paste dir /a /s c:\winre.wim (replace the c in c:\ with your windows drive letter)
You should get a response as per the image below that shows “Directory of c:\Windows\System32\Recovery” and the file details.

Step 4
As per the image below, In your open command prompt :
Type or copy and paste reagentc /enable and this time you should get a success message showing “REAGENTC.EXE: Operation Successful”.
Now type or copy and paste reagentc /info and again you should see an output with message showing “Windows RE status: Enabled” followed at the end with “REAGENTC.EXE: Operation Successful”

Step 5
You are finished. Now you can try creating your Windows Recovery Disk again and it should proceed normally.
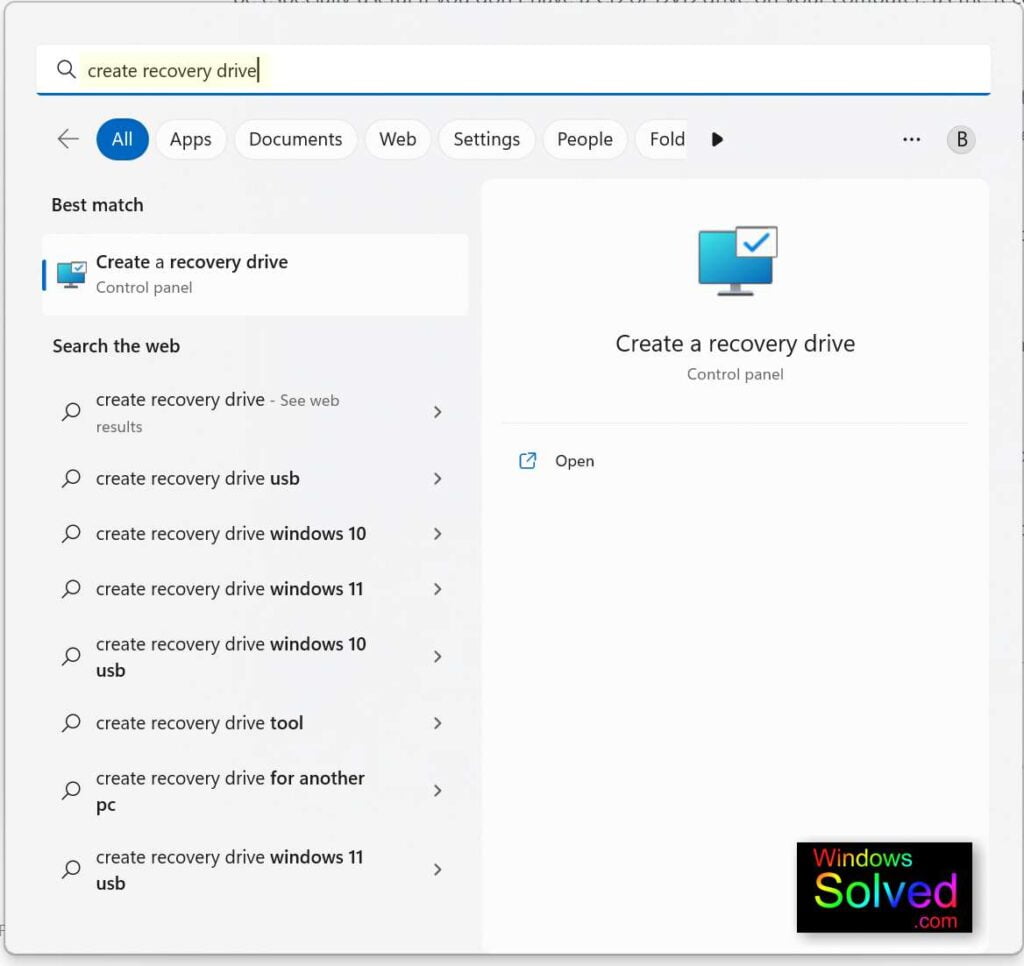
To create the Windows Recovery Disk, press your windows key and type “create recovery drive” and click open. Then just follow the prompts.

Finished! Windows 11 Error “Can’t Create Recovery Drive on This PC” is SOLVED!
| If you found this article helpful, please leave us a comment and a rating below. You are also welcome to shout us a coffee by clicking on the cup! |
This solution was developed and confirmed in PHP 7.0.33 with Linux & Web server nginx/1.22.1 by windowssolved.com | |
| This is an original article copyright to windowssolved.com This article may be shared via link to this page. You may not repost the content of this page, even with attribution without prior written permission. |


Wow, amazing blog structure! How long have you been blogging for?
you make running a blog glance easy. The total look of your web site is excellent, as smartly as
the content material!